How to install a parcel box — a practical Australian guide.
Getting your parcel box installed correctly the first time makes all the difference. Here is exactly how to do it.
Installing a home parcel box is a straightforward project for most handy homeowners. The majority of wall-mounted models are designed to be DIY-friendly, and with the right preparation and tools, the job takes about an hour. That said, there are situations where calling a professional is the smarter move — and knowing the difference before you start will save you time and frustration.
Step 1 — Choose the right location
Location is the single most important installation decision, and it is worth thinking through carefully before you drill a single hole. The ideal location for a home parcel box satisfies three requirements simultaneously: it is accessible to couriers without them needing to open a gate or enter a private space, it is visible enough that drivers can find it easily, and it is positioned so that parcels inside are not visible or accessible to passers-by.
For most Australian homes, this means mounting the box beside the front gate, at the end of the front path, or on the wall beside the front door. If your property has a fence, a position on or beside the fence near the entry point — accessible from the street side for deliveries, retrievable from the inside — is often ideal.
Avoid locations that are in direct afternoon sun for extended periods. Steel parcel boxes can get extremely hot in Australian summer conditions, and while this will not damage most parcel contents, it is unpleasant and can accelerate wear on plastic components and seals over time.
Step 2 — Understand your wall type
The fixings and drill bits you need depend entirely on the surface you are mounting into. Getting this wrong is the most common DIY installation mistake.
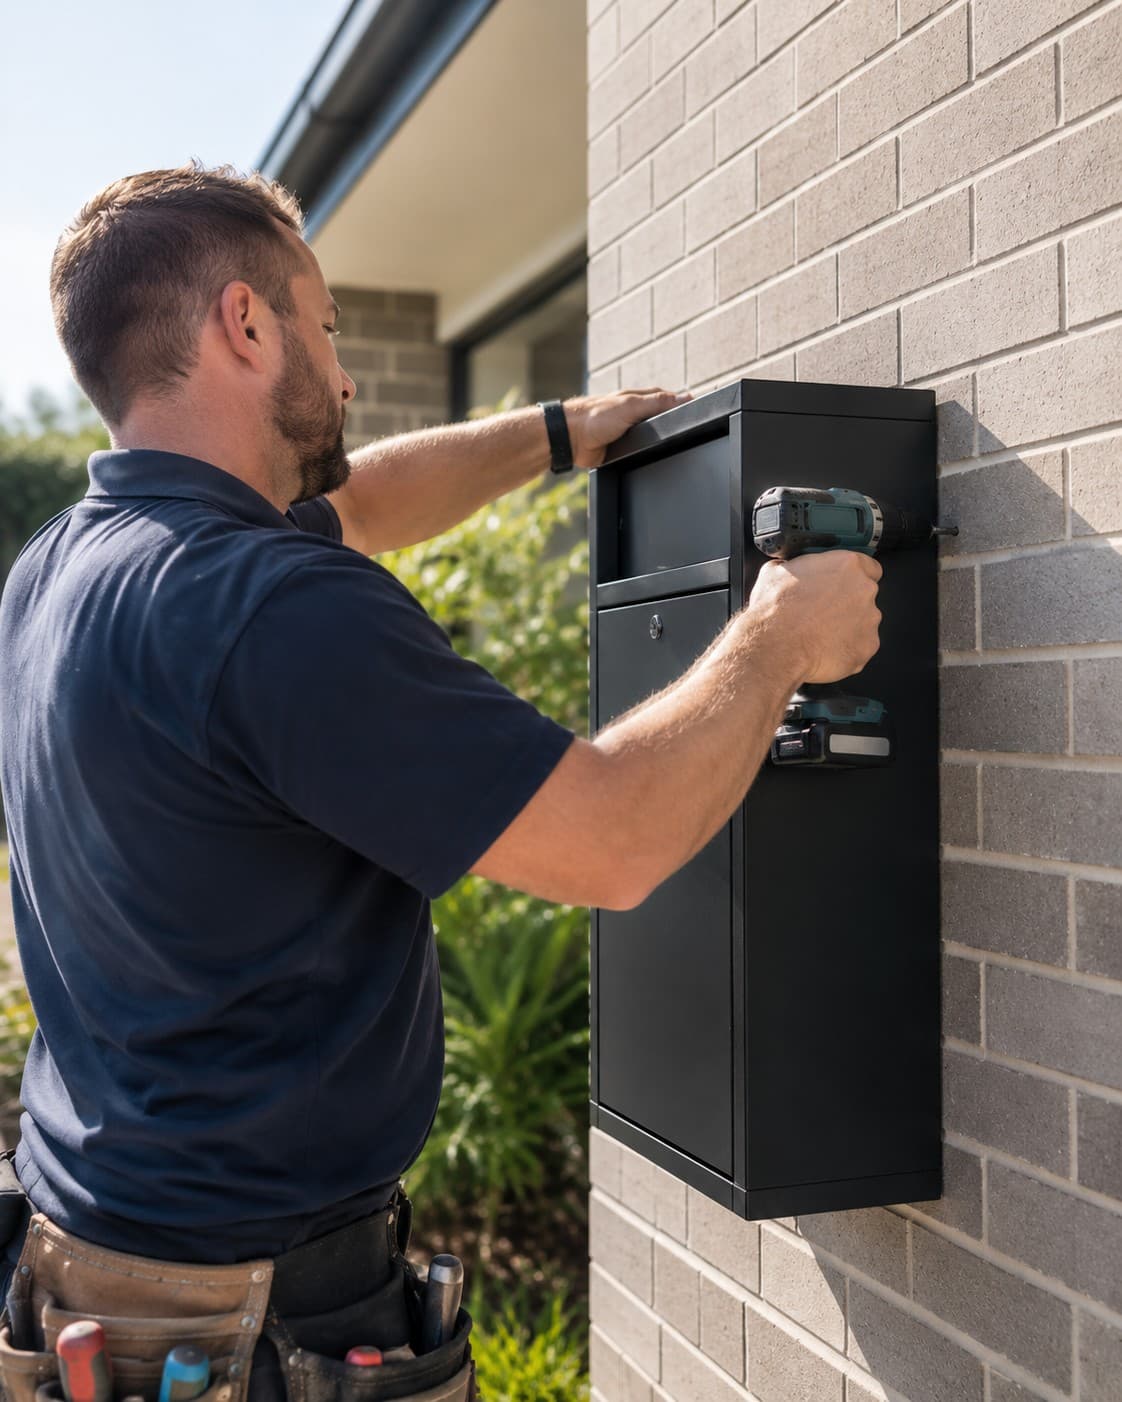
Brick and masonry require masonry drill bits and expanding anchor bolts or masonry plugs. Do not attempt to use standard wood screws or drywall anchors in brick — they will not hold the weight of a loaded parcel box. A hammer drill makes the job significantly easier than a standard drill and is worth borrowing or hiring if you do not own one.
Timber fence posts and timber-framed walls are the easiest surfaces to work with. Standard wood screws of appropriate length — typically 75mm to 100mm — into solid timber will hold a parcel box securely. Pre-drill to avoid splitting.
Rendered surfaces require care. Drilling through render into the masonry behind it is the correct approach — do not try to anchor into the render itself. Mark your drill depth carefully to avoid going too deep into the underlying structure.
Colorbond or metal fencing is possible but requires specific fixings — typically self-tapping screws into the metal or bolts passing through with backing plates on the reverse side. Check the wall thickness and structural integrity before committing to this approach.
Step 3 — Gather your tools
For a standard brick or masonry installation you will need: a hammer drill with masonry bits in the appropriate diameter for your fixings, masonry anchors or expanding bolts, a spirit level, a pencil for marking, a tape measure, and a screwdriver or socket set for tightening. For timber installations, swap the hammer drill for a standard drill driver and use appropriate wood screws.
Most parcel boxes come with a paper or cardboard mounting template — use it. Taping the template to the wall and drilling through it is the most reliable way to ensure your fixing holes align correctly with the mounting points on the back of the box.
Step 4 — Mark and drill
Hold the mounting template against the wall at your chosen location and use a spirit level to ensure it is perfectly level — even a few millimetres of tilt is visible once the box is on the wall and difficult to fix without redrilling. Mark all fixing points with a pencil, then set the template aside.
Drill your fixing holes to the depth specified in the installation instructions. Clear the dust from the holes before inserting anchors. For masonry, tap anchors in gently with a hammer until they sit flush with the wall surface.
Step 5 — Mount the box
With fixings in place, position the parcel box against the wall, aligning the mounting holes with your installed anchors or pre-drilled holes. Most boxes have a two-person job moment here — one person holds the box in position while the other starts the first fixing. Once the first screw is in, the box holds itself and the remaining fixings are straightforward.
Tighten all fixings firmly but do not overtighten — you are not trying to crush the fixing point. Check with the spirit level once all fixings are in and before doing a final tighten.
Step 6 — Set your lock and test
If your box uses a combination lock, set your code before the box goes into service. Choose something memorable but not obvious — avoid sequential numbers or your house number. If the box uses a key lock, test both supplied keys before relying on just one.
Test the drop mechanism by placing a parcel through the slot and confirming it cannot be retrieved from outside. Test the main door locks. Leave the box in delivery mode for a week and check that nothing has shifted or come loose — particularly in the first month in an exposed coastal location.
When to use a professional installer
There are four situations where calling a professional makes clear sense. First, if you are mounting into an uncertain surface — older brick that may be fragile, rendered masonry of unknown depth, or a surface where drilling incorrectly could cause structural damage. Second, if you are installing a built-in model that requires cutting into an existing wall or fence structure. Third, if the box is heavy and the mounting location is awkward enough that a one-person installation creates safety risks. Fourth, if you are simply not confident in your drilling and fixing skills — a botched installation that needs to be redone costs more than getting a professional in the first time.
Most parcel box suppliers can recommend local installers, and many offer installation as an add-on service. Expect to pay between $80 and $200 for a professional installation of a standard wall-mounted box, depending on your location and wall type.
Ready to get your parcel box sorted?
Browse our buyer's guide to find the right box, or get in touch with any questions.